
Monday 17 January 2011
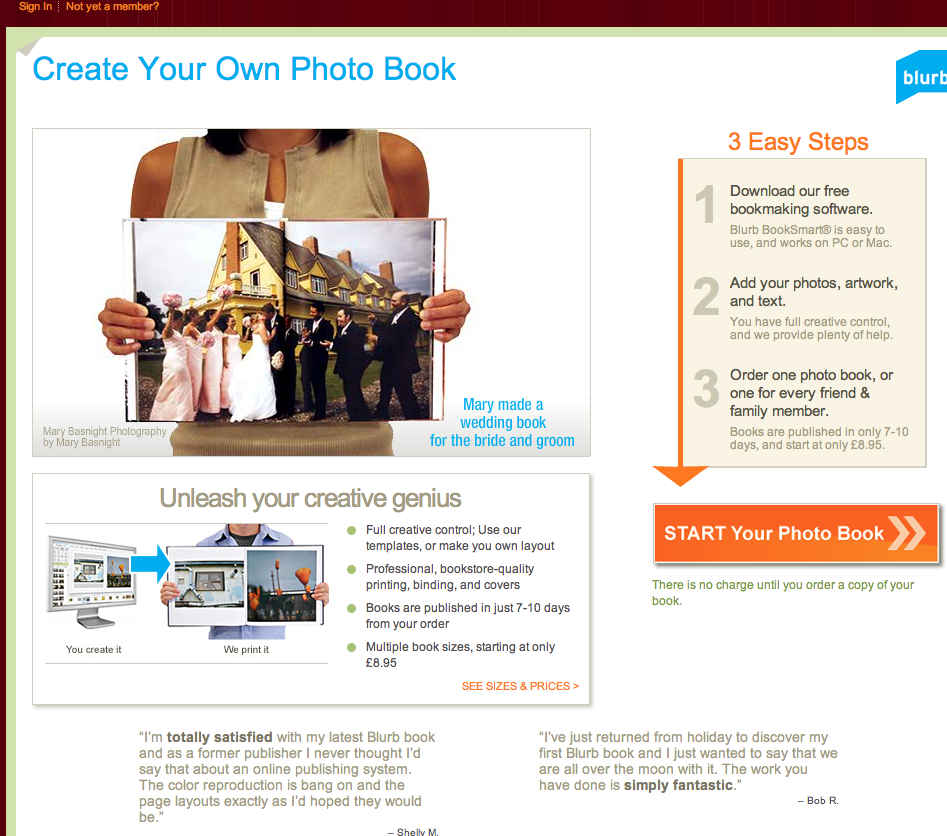
Theme 2 - Fine art - final images for viewing
These are my final images for the catagory of fine art. They have been printed and then scanned in.

Saturday 15 January 2011

How to stretch Canvas Prints using Stretcher Bars
This presentation demonstrates how to produce a canvas using stretcher bars. I have placed it in this blog as part of my evidence as it directly relates to my previous blog.
Saturday 8 January 2011
Unit 211 - Presenting photo images 1a
Final image 1


Image size
A3 - As requested by course leader
Final presentation format
40.7cm x 30cm Canvas.
Explanation of presentation choice
This image was specifically chosen by the subject to fit into a room in her house. The walls of the room were a light and a bright off white colour and she expressed that she wanted a contrasting image. This image fitted the brief well as it is in black and white with the dominant colour being black. There were a number of choices regarding the final image that included the following:
1) Matt print
2) Gloss print
3) Acrylic finish
4) Canvas
5) Framed prints (variety of frames, quality and sizes).
The final chosen medium was canvas as it is a medium that produced the desired effect for the commission. Canvas medium produced a matt effect and provided the final image with some texture. Because the main body of the image was black, the texture created by the canvas enhanced the final result.
When choosing the final canvas there were a number of options, whether the canvas was a complete wrap around, whether the producer was to bleed the edges or whether a white border was included in order to reduce the amount of image that was lost in the cropping process, (see email link for further explanation and detail). For the purpose of this image, I chose a wrap around as the final piece needed to be completely black in order to produce the desired effect.

Final image 2

Image size
A3 as required by the unit.
Final presentation format
Electronic slideshow.
Explanation of presentation choice
This image was taken for a client on a 'family day' studio event. In order for the client to chose the pictures they wish to order, I provided them with a PDF slideshow of all of their images.
The PDF is produced using adobe lightroom and it is an excellent of way of sending images to a client without having to watermark them all individually and place them on a disk.
The final produced picture of this image could be displayed by a variety of medium. The most simple would be either a matt or gloss finish. The next thing to consider is the framing of this image. The background colour is white, so a contrasting dark wood or black frame may well complement it well. Please such as 'one vision' provide an excellent choice of frames to compliment nearly all types of image.

For this image, I would personally choose the 33mm black frame, as this would add to the overall black, white and red theme of the image and help enhance the '80's theme. A frame like the yellow, blue and pink ones would clash terribly and make the image unappealing to look at.
Many professional photographers use their own websites to display their images. This allows potential clients to view a selection of images created by the photographer and may help with the promotion of their services. On line galleries enable huge amounts of work to be displayed in categories for the viewing pleasure of the public. Site such as flickr, allow anyone with an interest in photography to display their work and receive comments from the viewing population.

Final image 3

Image size
A3 as required by the unit.
Final presentation format
Gloss image/wrapped canvas
Explanation of presentation choice
This image was created during a studio session for a friend. After sending her the electronic slideshow of all of the images I took of her nephew, she chose a canvas and a gloss print.
Prints
Matt and Gloss prints are the post common types of displaying both single images and multiple images for viewing. The quality of these prints will vary dramatically depending on the types of paper used to create the final image.
Professional labs offer a variety of papers and finishes.

Places like 'Digitalab' are a professional company and offer the following options for prints:
- Fujiflex prints

- Duratrans/Fujitrans

- Metalic photo prints

- High gloss prints

Final image 4

Image size
A3 - As required by course
Final presentation format
Photobook
Explanation of presentation choice
This photo was taken during a shoot for a friend who wished to have a photo book created to produce a family album. There are a number of online services that produce photo books and as with the prints, there is a huge variety of choice regarding the quality of the finish and the layout of the pictures. Many sites like 'pixum' enable the photographer to have a free hand in how the book looks regarding layout and final presentation piece.

There are hundreds of these services on line:


Each of them provide this service but have to compete with each other with regards to quality and variety of service so it is very much the photographers market. The are options around:
- Size of book
- Number of pages
- Quality of paper
- Cover material (hard cover, soft cover, fabric etc........)
Final image 5
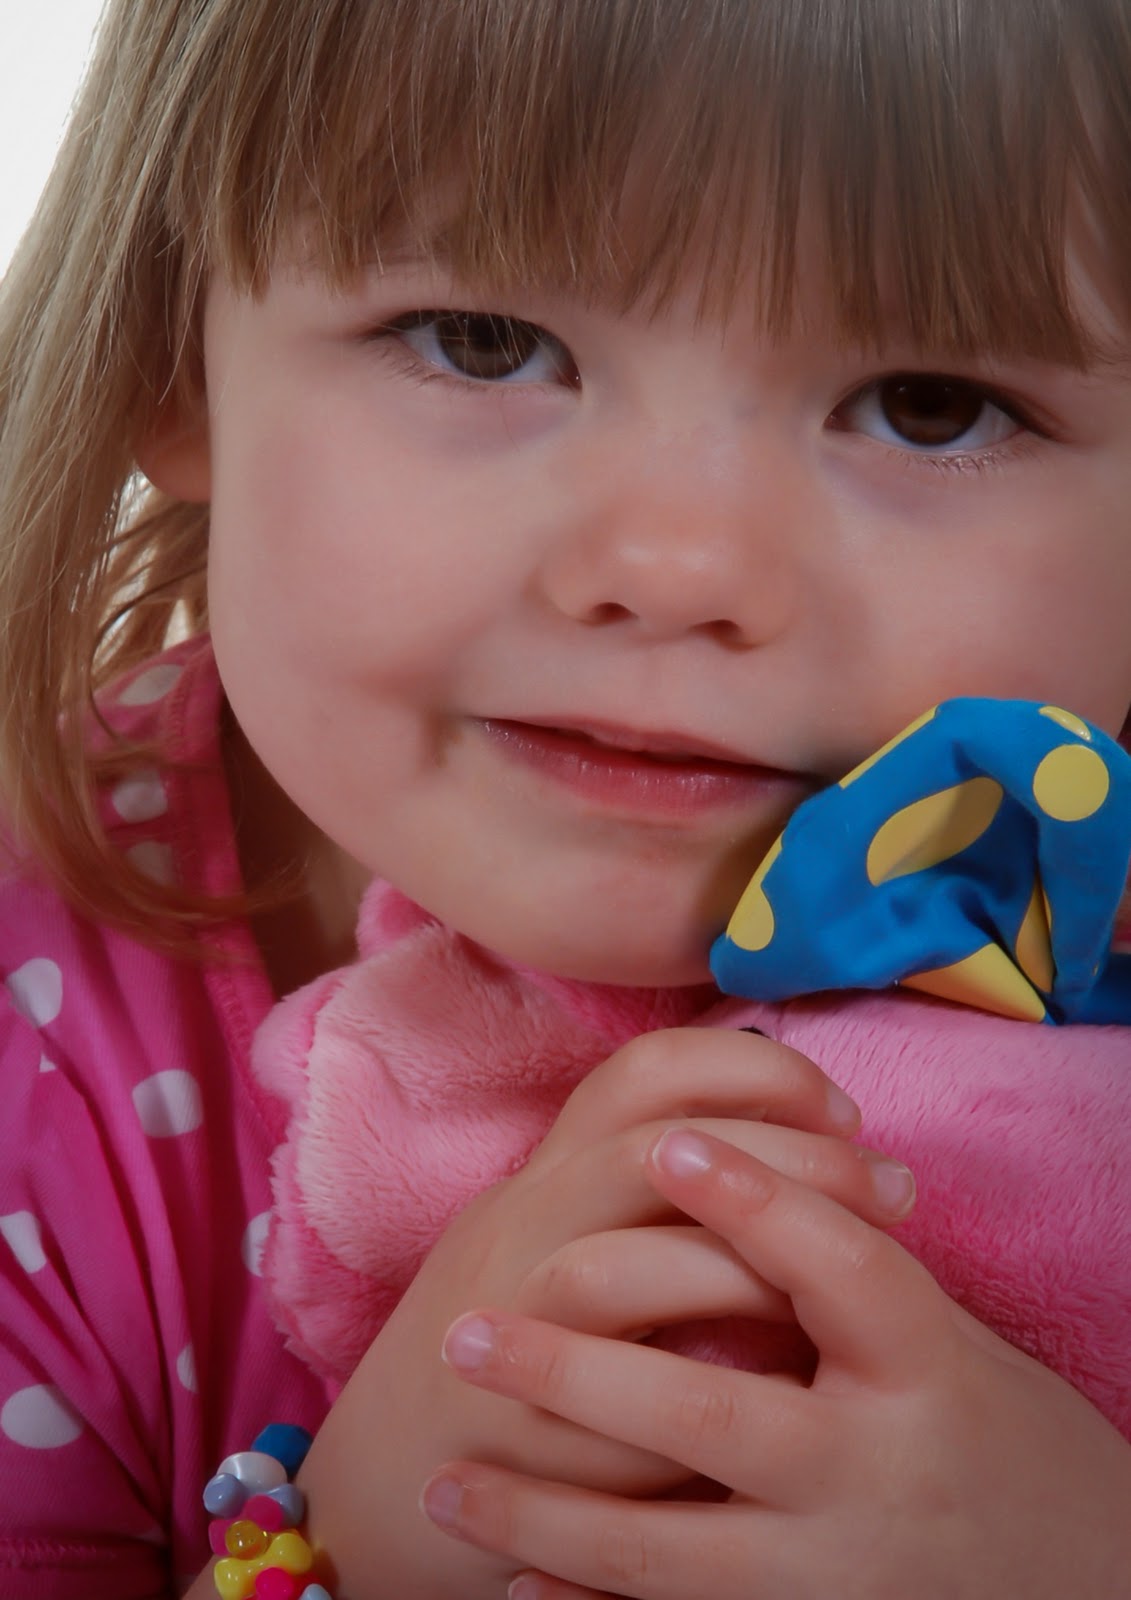
Image size
A3 - as required by course
Final presentation format
Gloss print
Explanation of presentation choice
Like with any of the portraits that have been commissioned or produced for clients, the choice of final image medium is down to them. This particular image was finally produced as a gloss print and placed in a silver metallic frame.
Many images can be displayed at once using an online gallery (as discussed before) however, exhibitions of work allow the photographer to display a large amount of work at once with the additional benefit of choosing a venue that may well compliment the exhibition theme.

'Idea Generation' is a the UK'svictoria and albert museum (for example) would not attract the same people and would therefore not make the exhibition as successful as it could be.
Marcus Adams is a Royal photographer who is currently displaying his work at Windsor Castle

This exhibition could not be better placed!
Final image 6
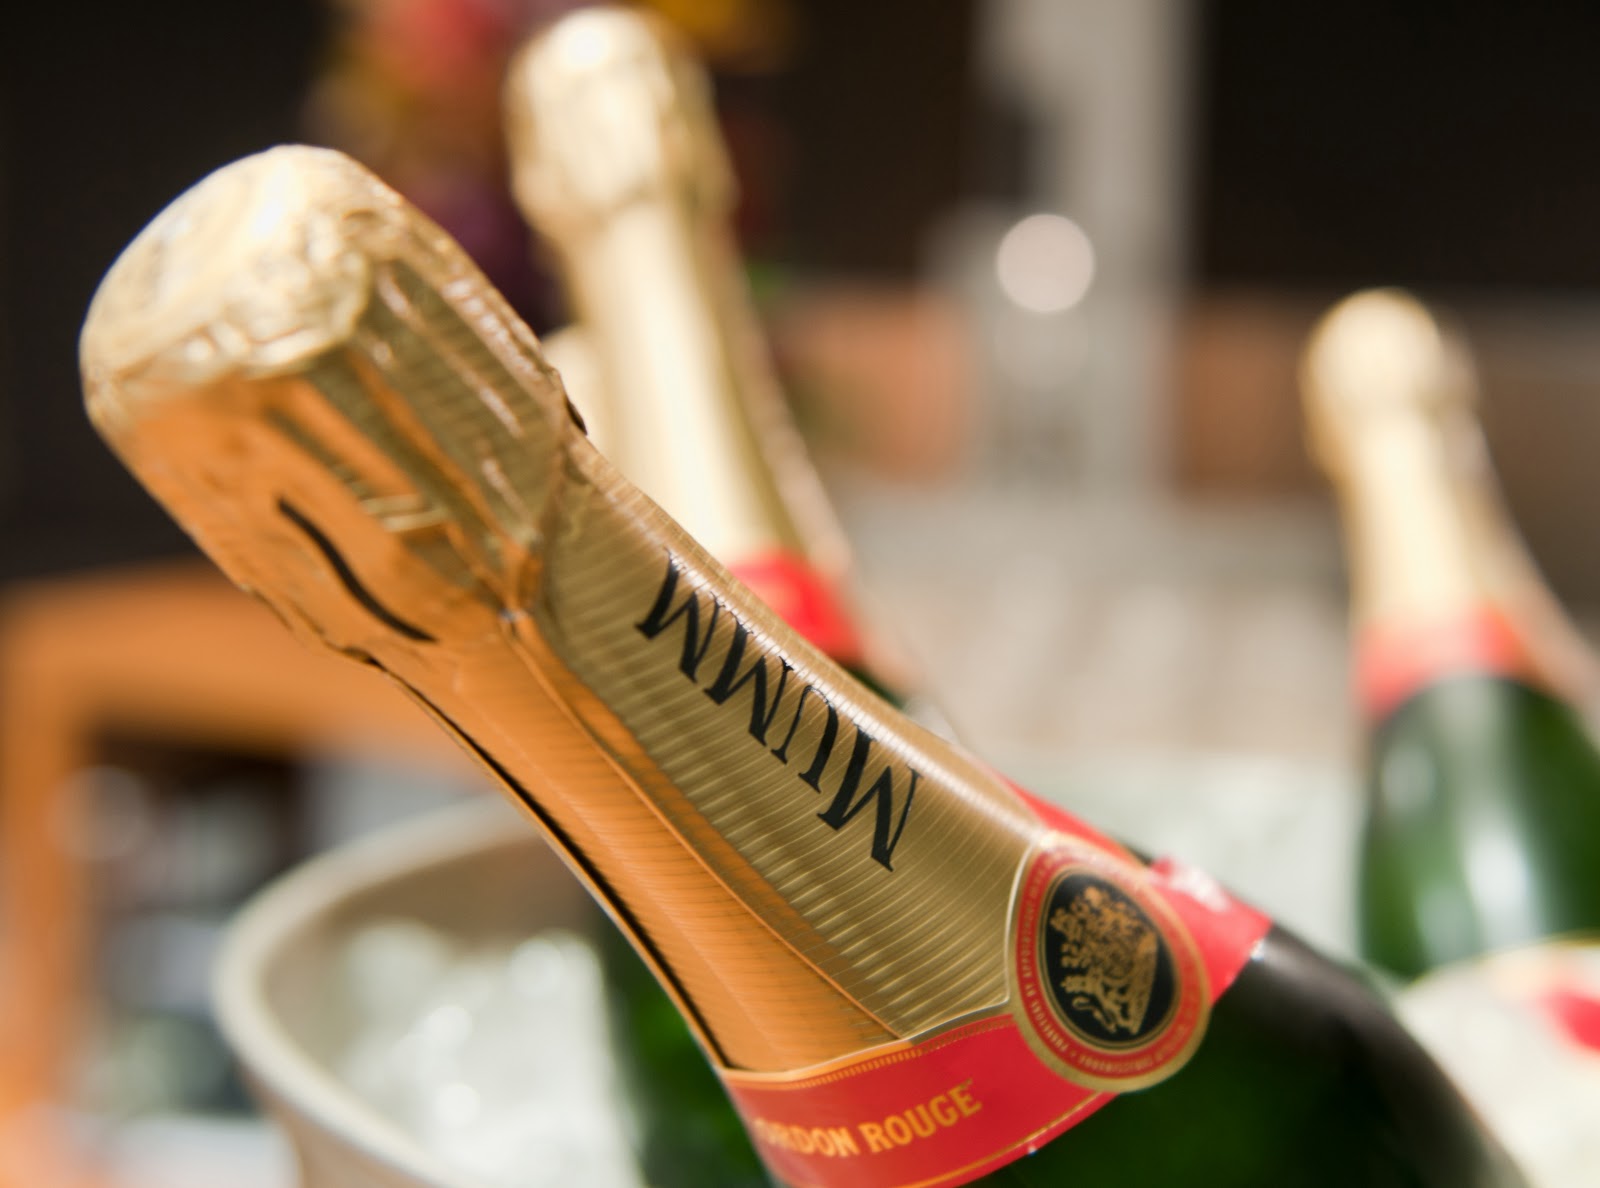
Image size
A3 - As required by the course
Final presentation format
Matt print
Explanation of presentation choice
This image was produced during a shoot for a corporate event. I wanted to choose a single image that represented the whole feel of the event and I felt that this did it nicely. Champagne represents things like, extravagance, wealth, celebration and luxury and in the glossy world of the pharmaceutical industry, champagne has it down to a tee!
The final image was presented on a framed matt print and displayed in the companies head office. It was framed in a black frame, that did the image justice, as it draws the eye to the central focal point.
Large poster prints and bigger images
Places like photo box all the customer to upload images onto the website and choose 'poster prints' and bigger. It also has a facility to check the quality of the print before ordering as the larger the print the better the quality of the original picture needs to be.


The screen shots above show that these images I have chosen to order for a 45X30 inch prints are good enough as there is a green smiley face saying high quality image. If these images were not of sufficient quality for the size of the desired image then there would be a red face saying low quality picture.
In order to view large images, there has to be sufficient space to appreciate the final image. A great example of a place where large images are displayed to maximize their impact is Time square in New York.

Final images 7&8


Image size
A3 as required by the course
Final method of presentation
Images framed as a set in a single frame
Explanation of presentation choice
Both images are along a similar theme choice therefore it make sense, to display them together as a single piece of art. Both images compliment each other in both theme and colour and would look the most effective being presented in a kitchen.
Images displayed together can provide the viewer with a more detailed and interesting piece of art work, providing that the images compliment each other. Completely separate images that illustrate different colours, focal points and subjects could clash and destroy the quality of each individual image.

These types of frames allow more than one image to be displayed at once. An electronic version of this would be the electronic picture frame.
Final images 9&10


Image size
A3 as required by the course
Final method of presentation
Electronic photo frame
Explanation of presentation choice
Electronic photo frames have revolutionized the way we can view out pictures. In this digital age, people are less likely to get images printed and more likely to use this instant display format as it is so simple to use.
There are many makes, sizes and types of digital photo frame:

From small digital key rings

To larger and more expensive frames.
Saturday 1 January 2011
Theme 2 - Assignment 2 - Edward Western
Edward Henry Weston was born March 24, 1886, in Highland Park, Illinois. He spent the majority of his childhood in Chicago where he attended Oakland Grammar School. He began photographing at the age of sixteen after receiving a Bull’s Eye #2 camera from his father. Weston’s first photographs captured the parks of Chicago and his aunt’s farm. In 1906, following the publication of his first photograph in Camera and Darkroom, Weston moved to California. After working briefly as a surveyor for San Pedro, Los Angeles and Salt Lake Railroad, he began working as an itinerant photographer. He peddled his wares door to door photographing children, pets and funerals. Realizing the need for formal training, in 1908 Weston returned east and attended the Illinois College of Photography in Effington, Illinois. He completed the 12-month course in six months and returned to California. In Los Angeles, he was employed as a retoucher at the George Steckel Portrait Studio. In 1909, Weston moved on to the Louis A. Mojoiner Portrait Studio as a photographer and demonstrated outstanding abilities with lighting and posing.) Weston married his first wife, Flora Chandler in 1909. He had four children with Flora; Edward Chandler (1910), Theodore Brett (1911), Laurence Neil (1916) and Cole (1919). In 1911, Weston opened his own portrait studio in Tropico, California. This would be his base of operation for the next two decades. Weston became successful working in soft-focus, pictorial style; winning many salons and professional awards. Weston gained an international reputation for his high key portraits and modern dance studies. Articles about his work were published in magazines such as American Photography, Photo Era and Photo Miniature. Weston also authored many articles himself for many of these publications. In 1912, Weston met photographer Margrethe Mather in his Tropico studio. Mather becomes his studio assistant and most frequent model for the next decade. Mather had a very strong influence on Weston. He would later call her, “the first important woman in my life.” Weston began keeping journals in 1915 that came to be known as his "Daybooks." They would chronicle his life and photographic development into the 1930’s.
 This Image is one of Edward Westerns that I particularily like and enjoy looking at. It has great composition, striking tone changes and is an unbelievable picture considering it is of a simple cabbage leaf!
I have taken this image and used it as my inspiration in producing these images below:


This is the set up that produced these images:

You can see that there is a simple tungsten light source that was used to create these images. Each object was placed on a black background cloth and shot from a variety of angles in order to capture a variety of focal points.
The light was securely fastened to a fixture using a strong clip and no drinks or fluids were in the vacinity in order to reduce the risk of fire. The entire 'set' was so small it produced virtually no health and safetly risks.
Equipment used:
Nikon D300
Single tungsten light source
Black background cloth
50mm lens
18-135 lens
Post production
The following screen shots demonstrate how each of the images were manipulated using adobe lightroom:
 All of the inages were shot in RAW to enable the white balance to be adjusted (if necessary) in adobe lightroom. In this instance (cabbage) I used a selenium tone to create the blue tinge. I then boosted the contrast and exported the picture to convert into a JPEG.
 This screen shot is demonstrating how I used lightroom to ammend the white balance. The original picture (see below) has a yellow glow due to the light source, and this required alteration.


I have taken this image and used it as my inspiration in producing these images below:

Cabbage specs:
Nikon D300
ISO 200
Focal length 70mm
f5.3
Shutter speed 1/20sec

Onion Specs:
Nikon D300
ISO 200
Focal length 50mm
f1.4
Shutter speed 1/200sec

Tomato Specs:
Nikon D300
ISO 200
Focal length 50mm
f 5
Shutter speed 1/8sec
This is the set up that produced these images:

You can see that there is a simple tungsten light source that was used to create these images. Each object was placed on a black background cloth and shot from a variety of angles in order to capture a variety of focal points.
The light was securely fastened to a fixture using a strong clip and no drinks or fluids were in the vacinity in order to reduce the risk of fire. The entire 'set' was so small it produced virtually no health and safetly risks.
Equipment used:
Nikon D300
Single tungsten light source
Black background cloth
50mm lens
18-135 lens
Post production
The following screen shots demonstrate how each of the images were manipulated using adobe lightroom:
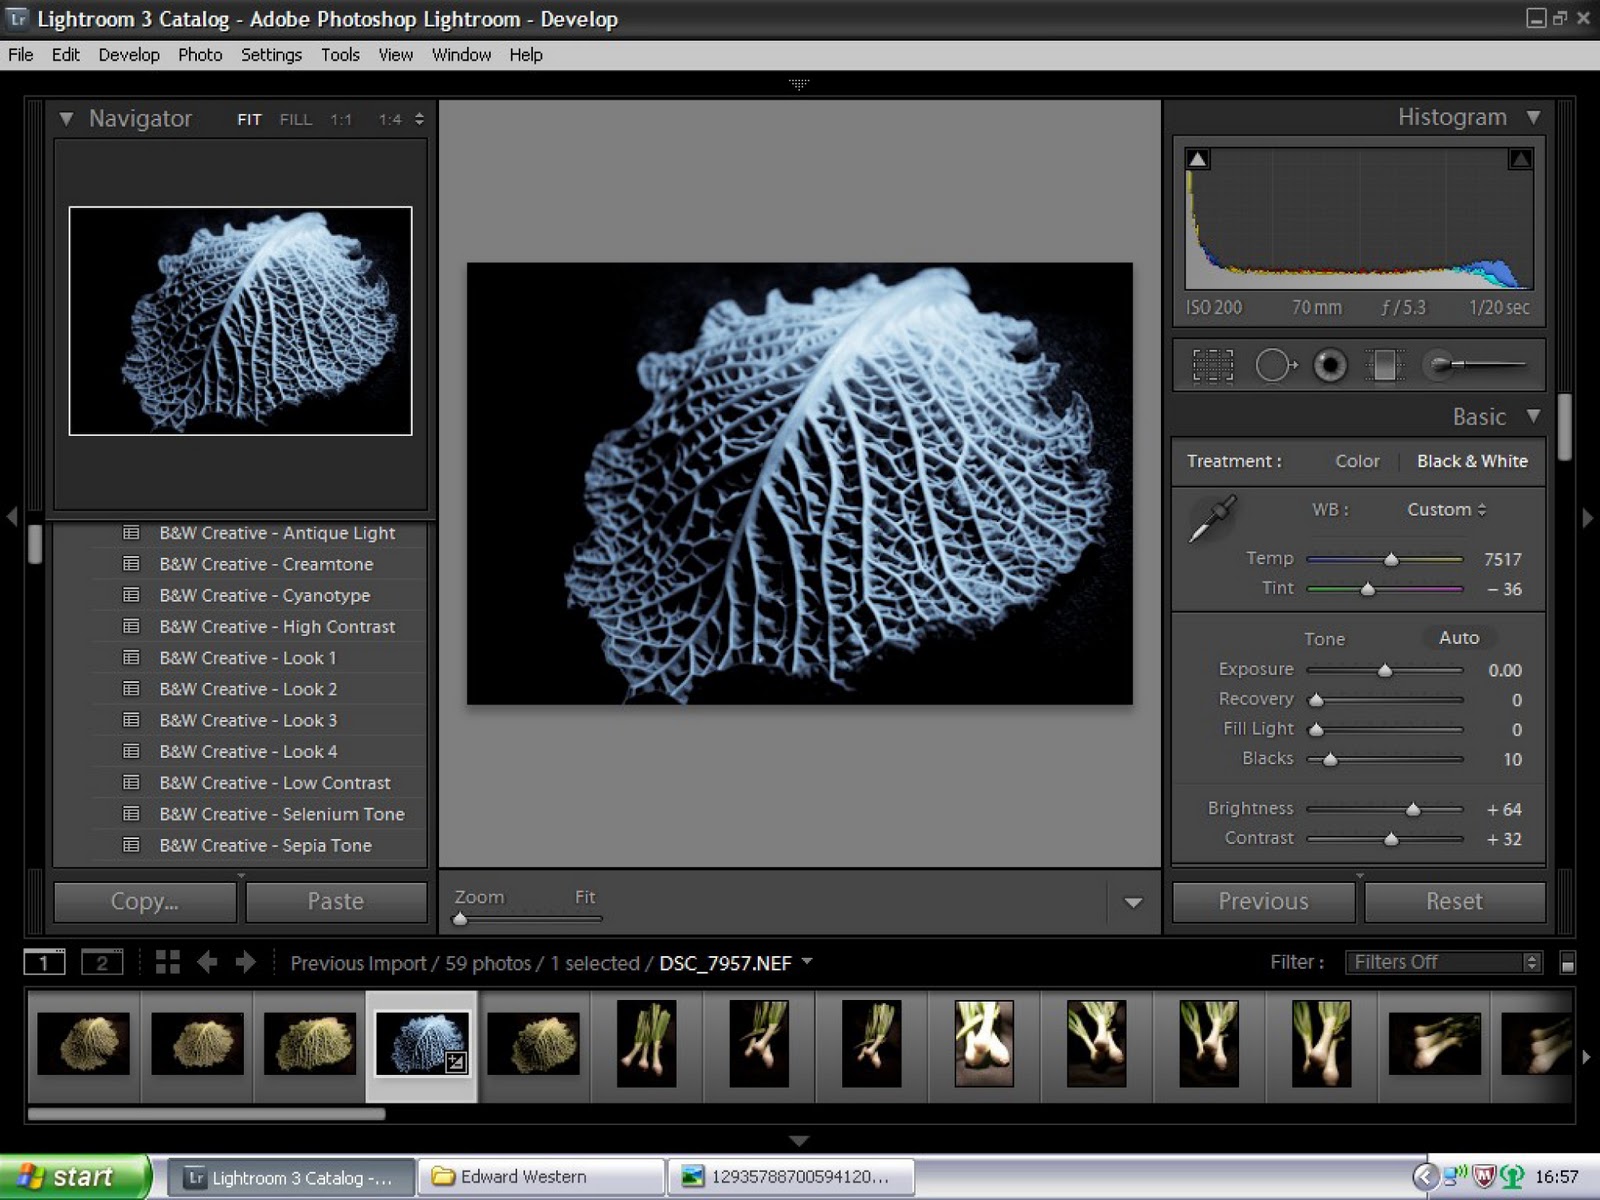

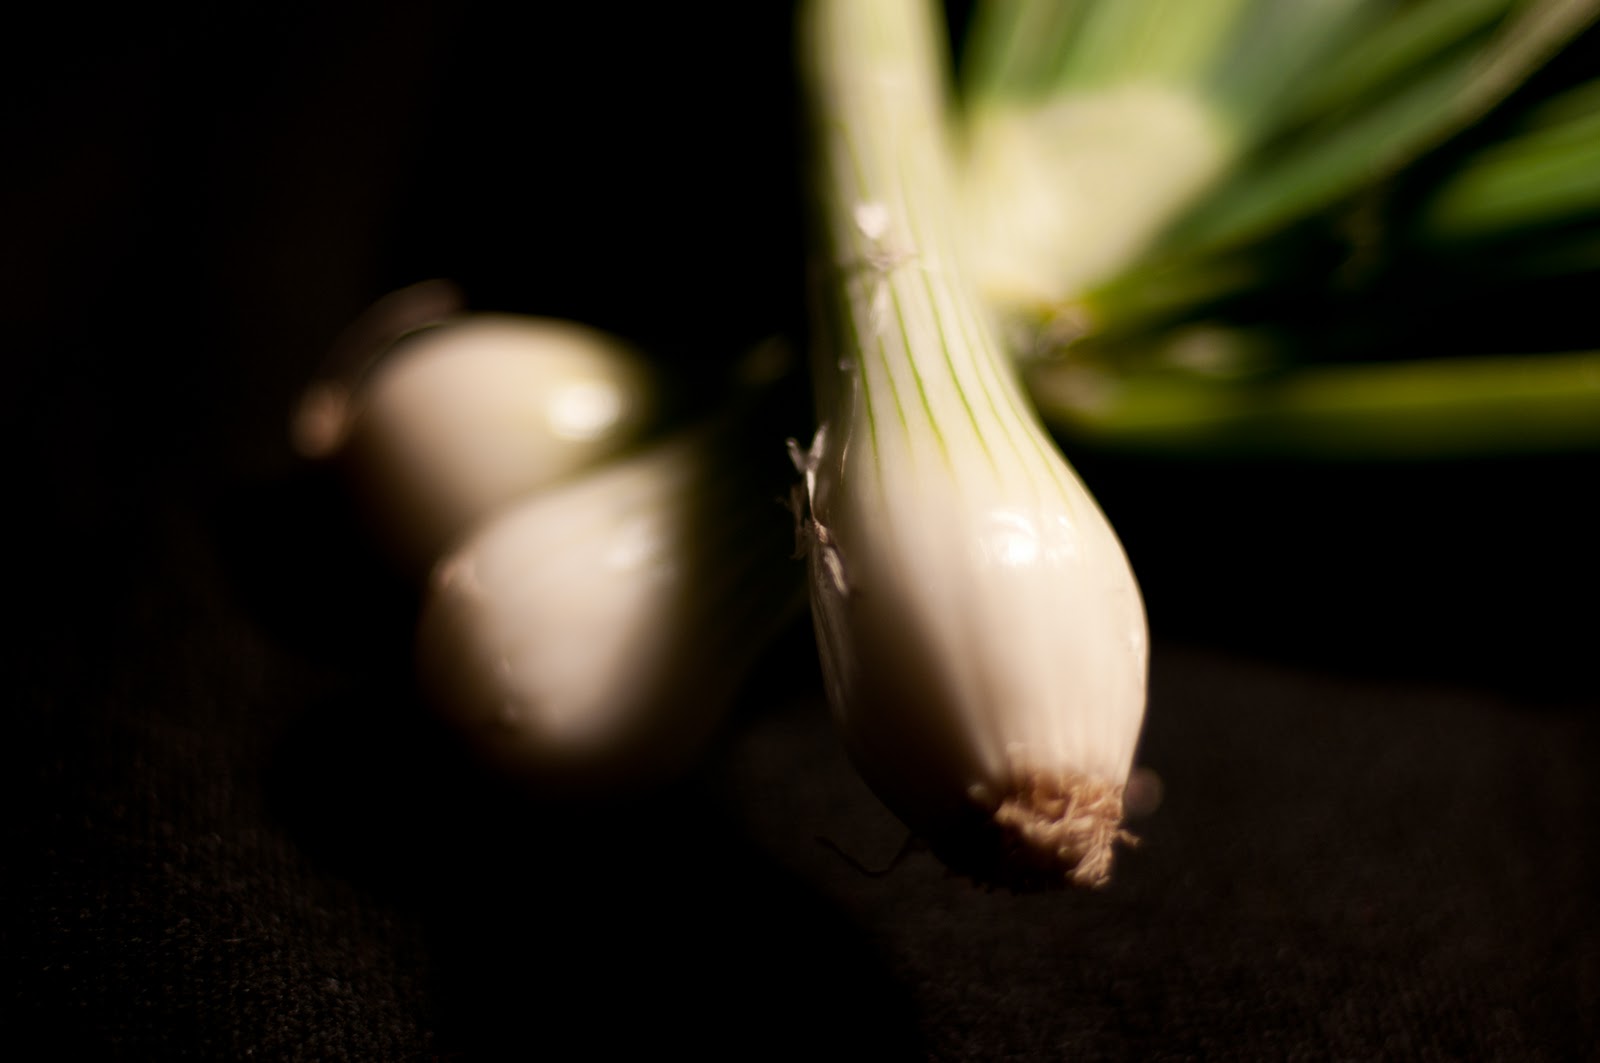
With all of these 3 images, I wanted to create pictures the were of interest and had different focal points. Each of the objects are common things that are used day in day out, but I wanted to draw the viewers eye to the morse pleasing aspects of the object. The cabbage leaf has hundreds of ridges, that looks almost like an ariel view of a mountain range or a river with all of its tributies feeding off it and flowing into the sea. The tomatoes have such a wonderful colour to them and the vine adds a little more interest to the picture. I very much like contrasting colours which is why I like the black background.
Subscribe to:
Posts (Atom)